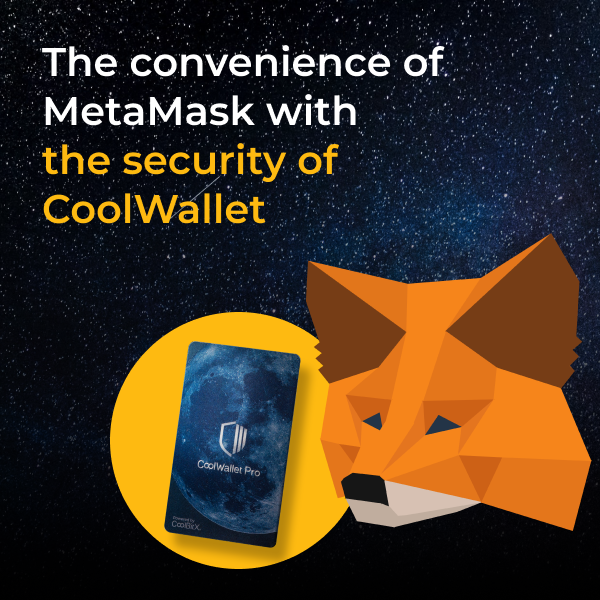
歡迎來到 CoolWallet 新官網!

如何將您的 CoolWallet 連接到 MetaMask?

韌體版本 2.37.0(或更高版本)支援 MetaMask 集成,您現在可以將 CoolWallet pro 連接到 MetaMask。這是我們為您準備的逐步指南。讓我們開始吧!

下載 CoolWallet 和 MetaMask

CoolWallet Pro :下載最新的CoolWallet 應用程式或將您的 CoolWallet 應用程式更新至 2.37.0(或更高版本)韌體版本。 在 App Store 下載/ 在 Google play 下載

MetaMask :MetaMask 支援 Google Chrome、Firefox、Brave 和 Edge 瀏覽器。在 Chrome 線上應用程式商店為您的 PC/MAC/Linux 電腦安裝最新的 MetaMask 擴充功能。您可以了解有關MetaMask 支援的更多詳細資訊。

設定您的 MetaMask

步驟 1.運行 MetaMask 擴充。點選

步驟 2.選擇或者。這裡我們會選擇供首次使用的使用者作為演示。

步驟 3.設定新密碼 → 接受使用條款 → 點選

步驟 4.單擊並將它們保存在安全的地方,然後單擊

步驟5.錢包設定完成後,您可以進入MetaMask首頁。

將 CoolWallet 連接到 Metamask

步驟1.開啟CoolWallet App並點選

步驟 2.選擇 然後將顯示二維碼。

步驟 3.單擊在右上角。

步驟 4.單擊

步驟5.將CoolWallet App上顯示的二維碼放在電腦攝影機前。 (畫面有些模糊,但不影響閱讀)

步驟6.選擇帳戶(錢包地址)並點擊

步驟7 。如果CoolWallet顯示在右上角出現,表示連線成功。

透過 MetaMask 發送交易

步驟 1.單擊然後輸入關聯的地址並輸入您想要的金額,然後按一下

步驟 2.單擊設定您的交易。

  • 優先費支付給礦工並激勵他們優先處理您的交易。您可以提高金額以加快交易過程。
  • 最高費用是您交易的總金額,包括基本費用、優先費用和任何快速變化的緩衝費用。

步驟3.確認所有交易詳情後,點選,那麼你會得到一個QR 圖碼.

步驟4.打開CoolWallet應用程式並點擊 ,然後掃描 MetaMask 上顯示的二維碼。確認交易後,點選並按照 CoolWallet 應用程式上顯示的步驟連接您的卡片以確認交易。確認後,將顯示二維碼,請點選掃描後。在掃描之前,您的交易將被取消。您必須重新進行交易才能取得二維碼。

步驟 5.單擊在 MetaMask 上並掃描 CoolWallet 應用程式上的二維碼。掃描完成後,交易將廣播到 ETH 區塊鏈上。

我們希望本指南對您有所幫助。如果您有任何疑問,請參閱我們的 幫助中心

最新文章

View all

Guide for Adding a Custom Network
  • by CoolWalletTeam

Guide for Adding a Custom Network

Learn how to add a Custom Networks, or EVM-compatible blockchain, to your crypto wallet, expanding access beyond official options now!

Read more

Introduction to Custom EVM Network
  • by CoolWalletTeam

Introduction to Custom EVM Network

Custom Networks let users add new blockchain networks to their crypto wallets, expanding access beyond official options. Learn more now!

Read more

Chiikawa: The Cutest Meme Taking Over Solana
  • by CoolWalletTeam

Chiikawa: The Cutest Meme Taking Over Solana

Cheeck out the hottest meme token $CHIIKAWA, a popular anime-inspired meme token on Solana now. Learn how to add it to your CoolWallet!

Read more