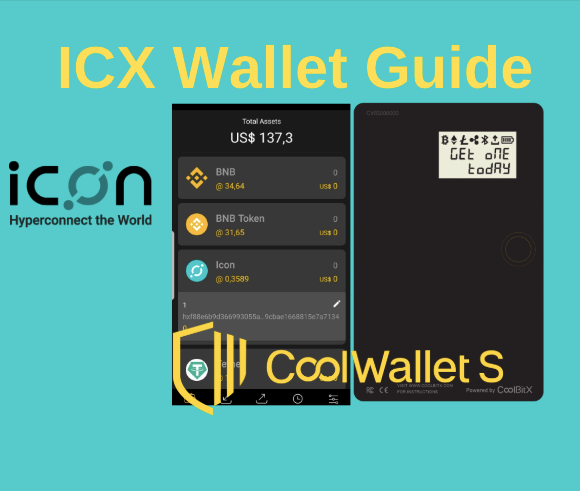
Since ICON is natively supported on CoolWallet S, there's already an ICX wallet set up for you, with the private keys protected by our secure element.
Step 1: Set up your CoolWallet
If you bought a CoolWallet with the express purpose of storing ICX coins on them, you need to set up your CoolWallet S first, pair it with our CoolWallet app and then back up (write down) your recovery seed phrase.
It's pretty simple and you can see how to do it here.
Step 2: Set up your ICX Wallet
Good news. If you set up your CoolWallet S correctly, then your ICX Wallet is ready to go!
Open the CoolWallet app

You should see the Icon logo, with the quantity you own and its current value in USD.
Tap on the Icon bar

You will now see a long alphanumeric string. This is your public key (similar to an email address) that you can use to receive ICX funds from others.
Create another ICX Wallet
- Press "Receive" on the bottom menu.
- In the top right corner, tap the 3-letter currency displayed and select "ICX" from the drop-down menu.
- Below "My Address" you will now see the public key (safe to share) of your IXC wallet. You can rename it.

4. To create another ICX wallet account, Press "Add". You will now see a second public key appear. Use either public key to trade, send or receive ICX.
To Receive ICX into Your Icon Wallet
Press Receive. Copy and/or share your ICX public key either in QR Code or in text with other users.

Send ICX to Other User Wallets or Trade ICX on Changelly and DEX's
Press Trade. You'll see 3 options: Send / Trade / WalletConnect
- Use SEND to transfer ICX directly to another address (you need the public key/address)
- Use TRADE to access Changelly and swap ICX for other cryptocurrencies.
- Use WalletConnect to link with decentralized exchanges like Binance DEX and trade your ICX.


Share:
Phishing Scam Alert: CoolWallet / CoolBitX Does Not Have A Customer Support Phone Number
Best ICON Wallet for ICX coins (2019 Guide)