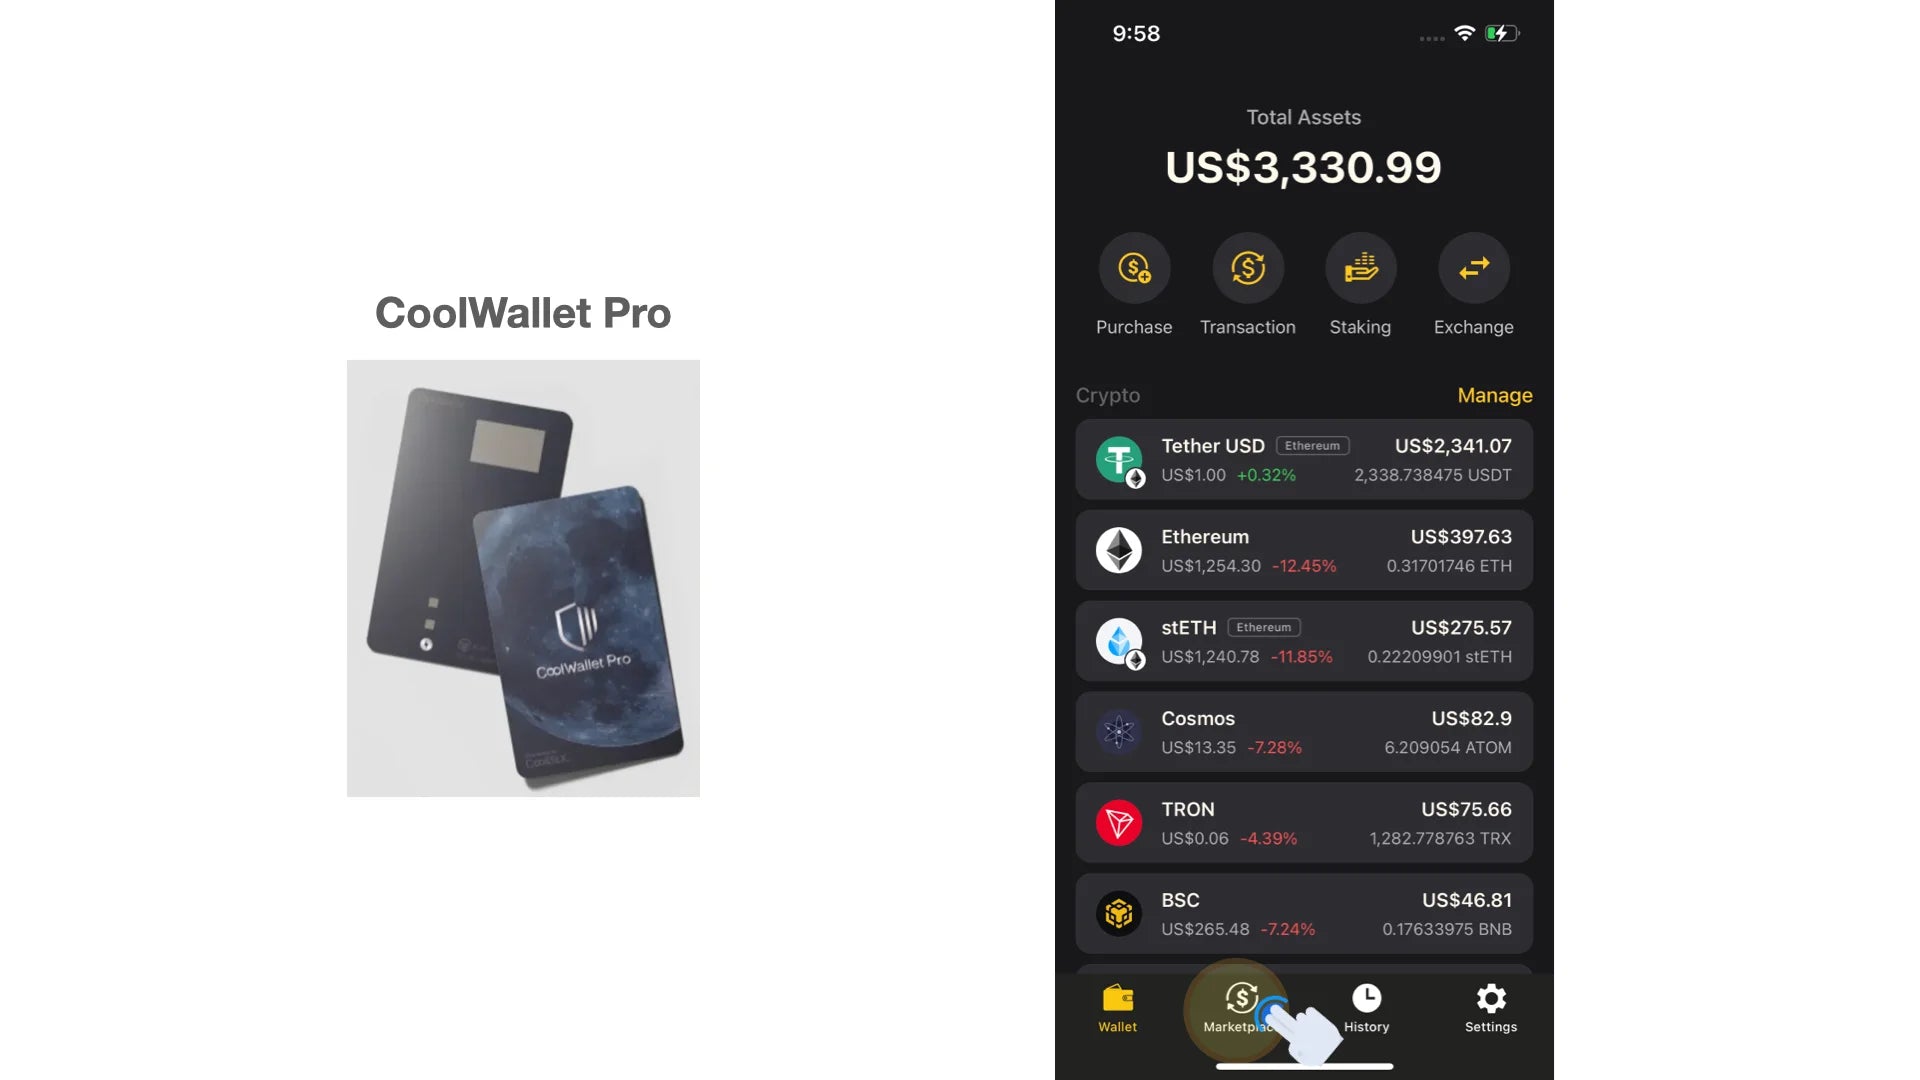
The CoolWallet team has partnered with the Rabby team, enabling you to explore up to 6 chains and enjoy multiple DeFi choices with enhanced ease of use. The integration provides access to a user-friendly, secure multi-chain wallet experience.
Contents
- What is Rabby?
- Why should I use Rabby with the CoolWallet App?
- How to Connect Your CoolWallet to Rabby?
- Sending Transaction by Rabby
What is Rabby?

Rabby is a browser extension wallet designed for multi-chain scenarios. It can automatically switch to the corresponding blockchain based on the DeFi website you are visiting. With the rise of Web3 and DeFi, MetaMask has become the primary way to connect to Dapps. However, MetaMask works mainly for a single-chain scenario, which can be inconvenient for users looking to navigate a multi-chain world.
With the launch of Rabby, users can now enjoy DeFi Dapps evolving in a multi-chain ecosystem. If you are familiar with Metamask, it will be very easy for you to interact with Rabby as they work similarly.
In addition, aiming to enable users to understand what they are really signing, Rabby wallet will automatically parse the transaction content for users in Rabby’s signing confirmation pop-up window, effectively combating blind signing.
Why should I use Rabby with the CoolWallet App?

Advanced security technology to ensure the safety of your DeFi journey
With a unique, sleek credit card design, CoolWallet is equipped with advanced security technologies, such as an EAL 6+ secure element, encrypted Bluetooth connection (AES 256 military-grade), and 2+1 factor authentication (biometric and physical verification of all transactions via the app and card).
As your private key is permanently locked inside CoolWallet's EAL6+ secure element, your digital assets remain protected against external hacks and scams.
Supported by its security rule engine, Rabby sends each transaction into the engine for screening before users sign it to help users to identify the potential risks. Rabby also alerts users if it finds any potential vulnerabilities, helping users to proactively safeguard their assets.
By integrating Rabby wallet, CooWallet offers you a seamless multi-chain solution with advanced security, protecting your digital assets from malicious actors.
Here are some DeFi you might be interested in:
- Ethereum: Uniswap, Curve Finance, Aave, Convex Finance
- Arbitrum: GMX, dForce
- Binance Smart Chain: PancakeSwap, Venus, Alpaca Finance
- Avalanche: supporting Legacy transaction; not supporting EIP1559
- Polygon: Aave, Quickswap, Curve Finance
Have no idea how to start? Check out our Step-by-Step Guide to start your multi-chain journey!
How to Connect Your CoolWallet to Rabby?
Ready to explore the multi-chain world? In this guide, you will learn how to connect your CoolWallet to Rabby and how to complete a transaction via Rabby!
Step 1. Download the latest CoolWallet App and have your CoolWallet Pro ready. Since Rabby is currently supported by two browsers, Chrome and Brave, make sure that you have installed the latest version of one of the browsers on your computer.

Step 2. Open Chrome or Brave on your computer and go to Rabby website (https://rabby.io/). Click on the browser type you use. In this guide, we use Chrome as an example.

Step 3. Click “Add to Chrome” on the top-right corner to add the extension.

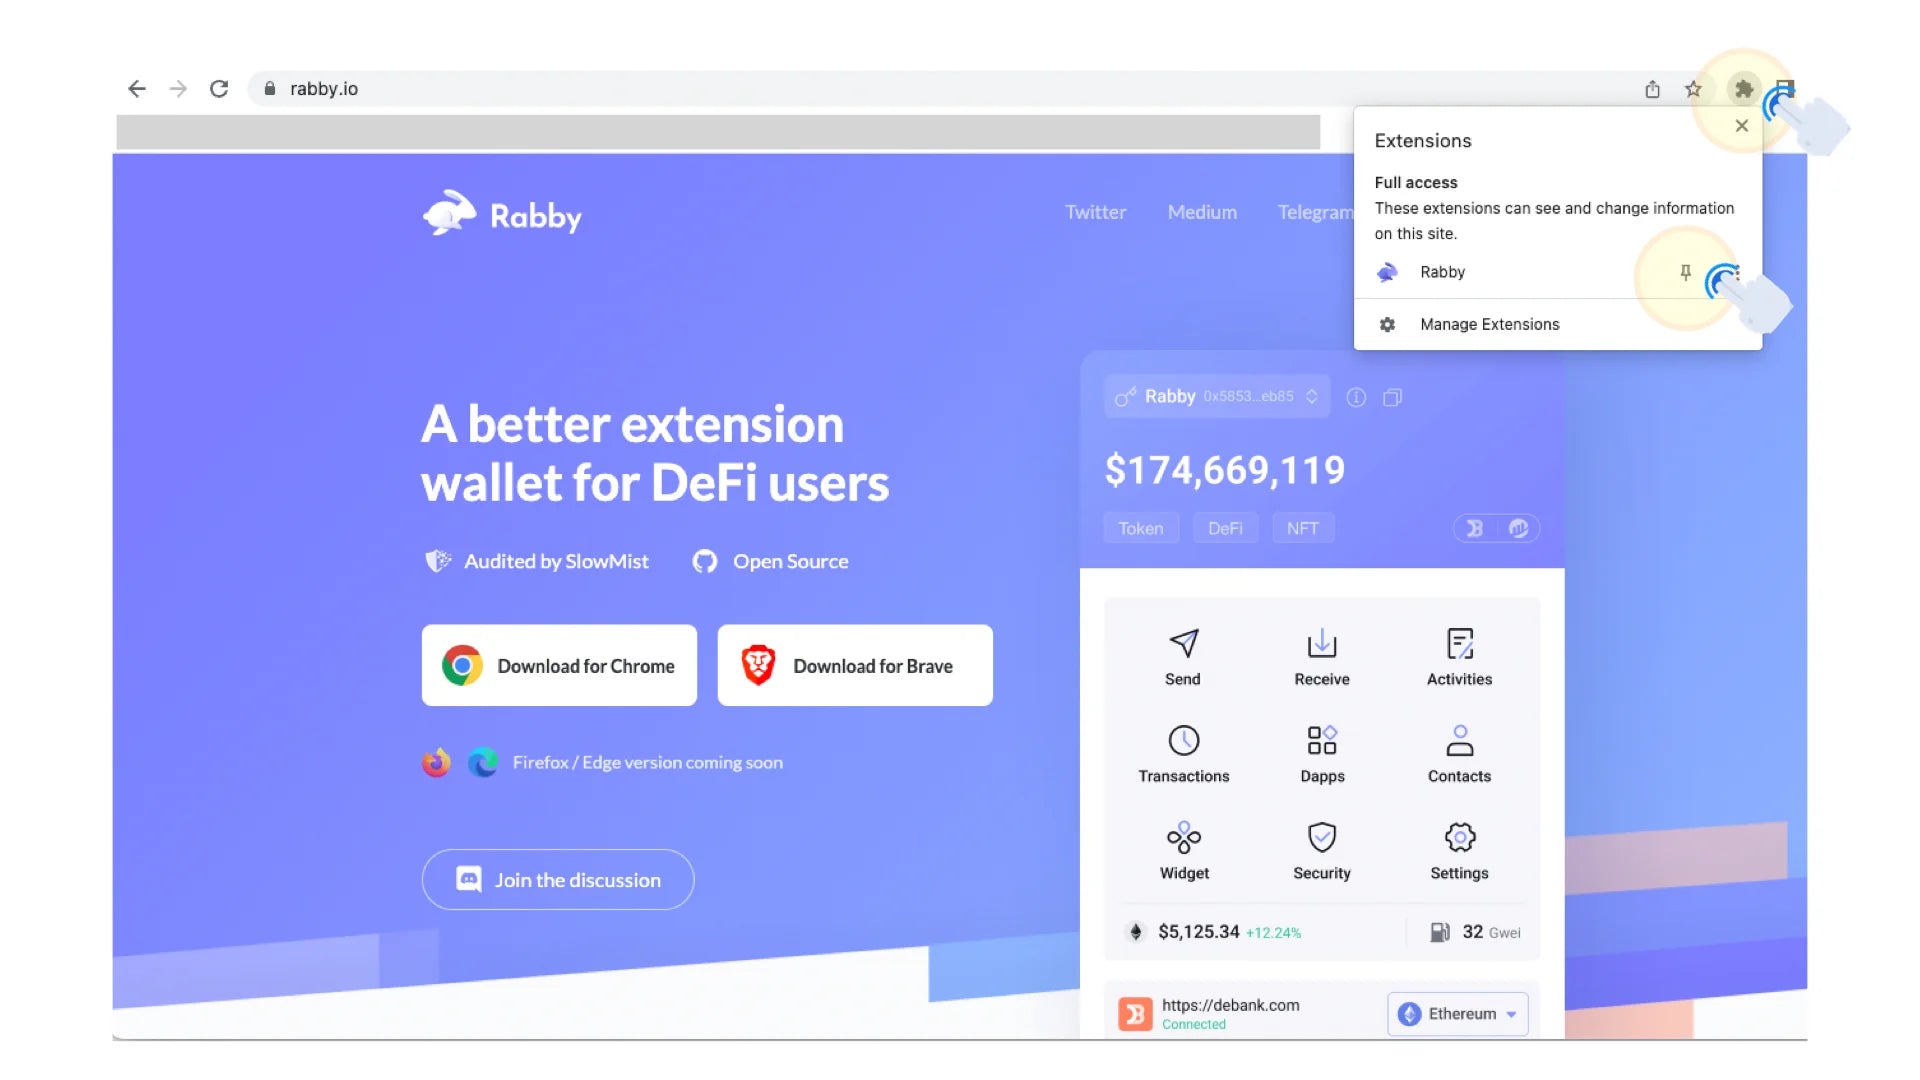
Step 4. After adding the Rabby extension, you can click the puzzle-shape icon on the top-right corner of your browser and pin the Rabby extension so that it is easy to find it.

Step 5. After clicking the Rabby icon, you will see a pop-up window. Click “Get Started”.

Step 6. Then you need to create a password used to unlock your wallet. Click “Next” after you fill in the password.

Step 7. Select the blockchain you want to add to the Rabby Wallet, and then click “OK”.

Step 8. Click “CoolWallet'' to add your wallet address to the Rabby Wallet. Please don’t forget to allow Rabby to access the camera.


Step 9. Now, you need to open your CoolWallet App and go to the “Marketplace” page. Then scroll down to click the “Rabby” block.

Step 10. Click “Synchronize wallet” and your QR code will show up.

Step 11. Place the QR code displayed on the CoolWallet App in front of your computer camera. (The screen is blurred, but it will not affect the reading.)

Step 12. Select the wallet address you want to add, and click “Next” for the next step.

Step 13. You will see the “Import Successfully” message. Then you can click “OK” to the Rabby page.

Congrats! You have successfully connected Rabby to your CoolWallet. Here are various functions you can try now!
Sending Transaction by Rabby
There are different kinds of transactions you can do on the Rabby wallet. We are going to take the easiest one to show you how to do it. Let’s take “send” as an example.
Step 1. Click “Send” on the Rabby page.

Step 2. Select the wallet address you want to use for the transaction and fill in the amount of crypto you are going to send out.

Step 3. Then click “Send” to check transaction details.

Step 4. You can adjust gas costs here. Then click “Proceed” only if you confirm all information is correct. Then a QR code will appear.

Step 5. Now, you need to open your CoolWallet App and go to the “Marketplace” page. Then scroll down to click the “Rabby” block.

Step 6. Click “Scan & sign Transaction” and use the phone camera to scan the QR Code displayed on the Rabby.

Step 7. Check again if the wallet addresses are both correct and click “Confirm” for the following steps.

Step 8. Now you need to activate your CoolWallet. Long-press the button on your card until “Hello” is shown on the card screen. Check whether your CoolWallet is successfully connected to CoolWallet App. If the connection is successful, your CoolWallet will show the coin type and the transaction amount first, and then show the instruction “PRESS button” and “Sent” sequentially. You just need to follow the instruction to press the button on the card to complete the process.

Step 9. After the card verification process, a QR Code will be shown. Please click “Done” after using your computer camera to scan the QR code on your phone.
Note: If you click “Done” before scanning it, your transaction will be canceled. You have to re-do the transaction again to get the QR Code.

Congrats! You have successfully completed a transaction via Rabby!
You can click “Activities” on the Rabby page to view your historical transactions.


Share:
Hola Barcelona! CoolWallet Visits Europe For EBC2022
What is SocialFi? A Beginner's Guide